100 Days on Chunk How to Farm Gems
Badge quests, biome crates, and run payouts—spend Gems on classes that actually help.
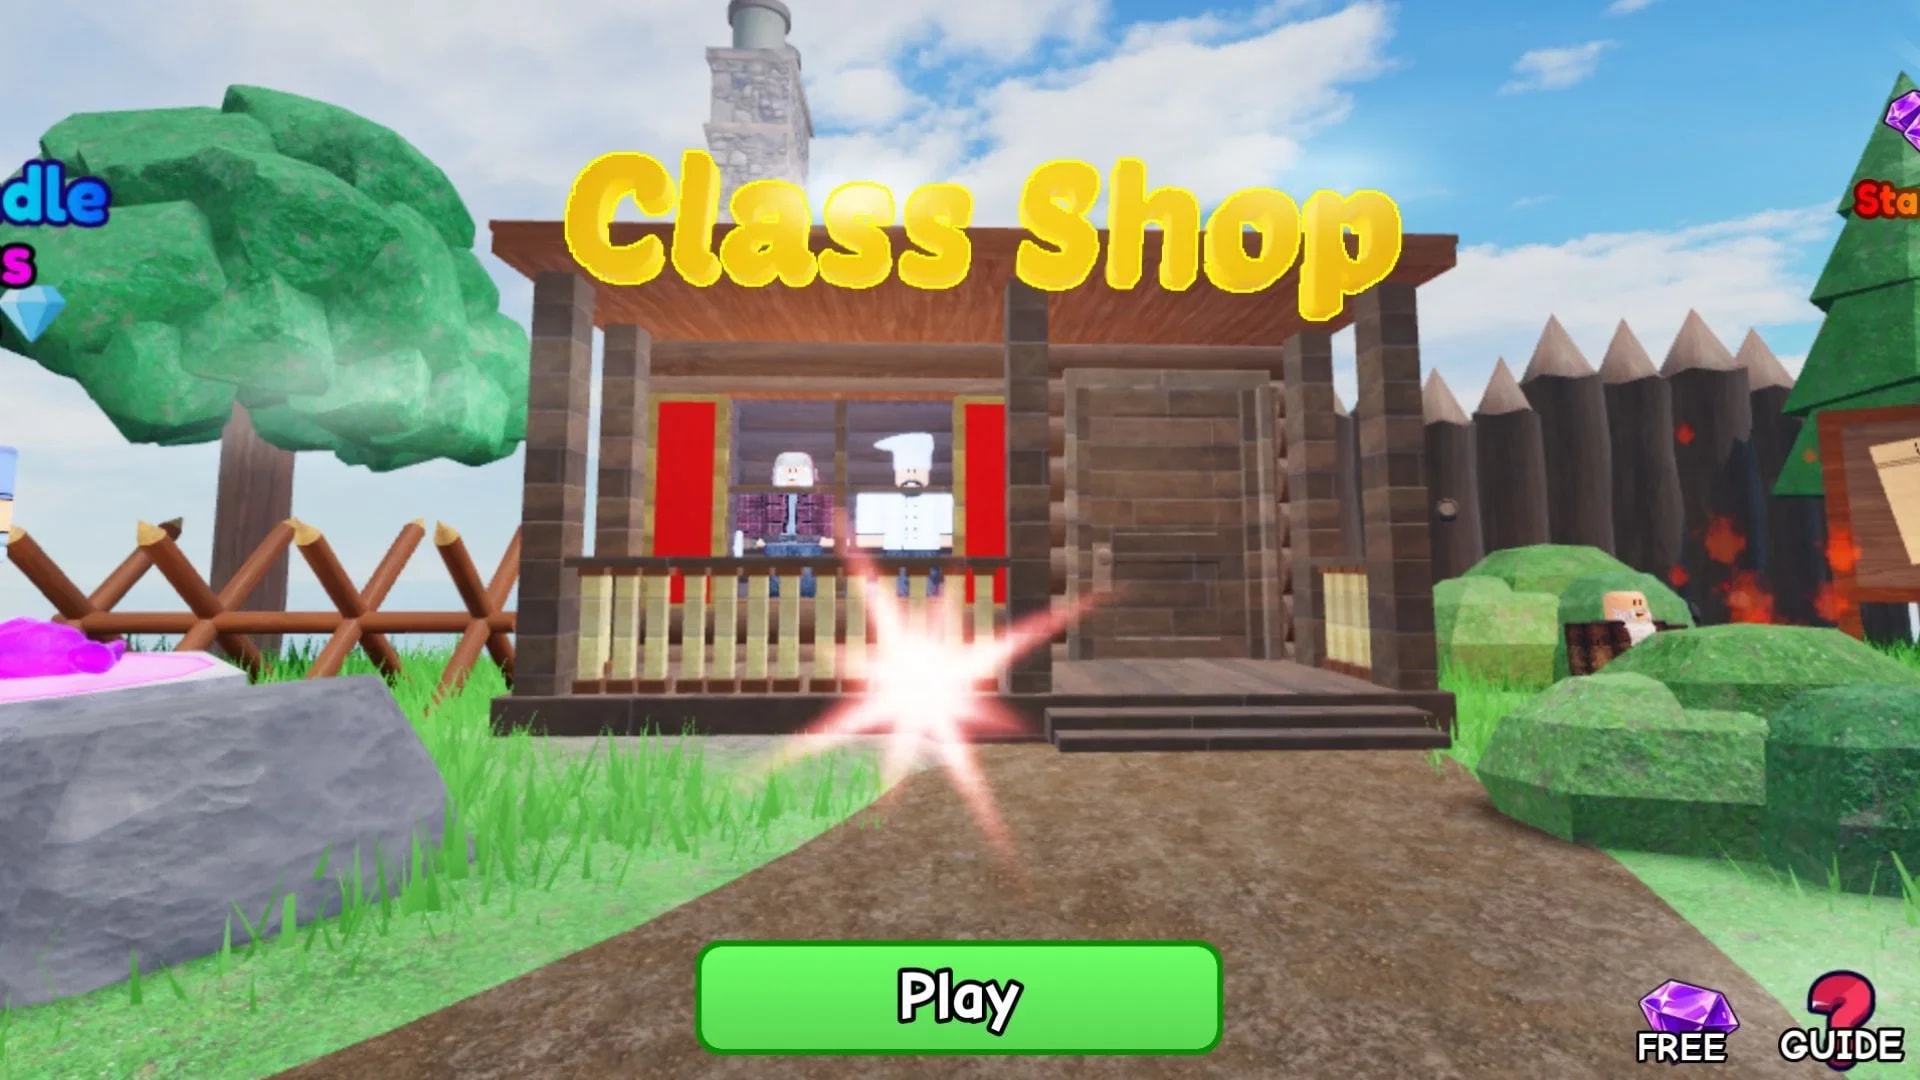
Gems are the lobby power budget
In 100 Days on Chunk, Gems buy lobby classes that change how painful early nights and expansion feel. Explorer is free and enough to learn, but Chef, Medic, Lumberjack, Ninja, and Vampire all cost Gems—while Engineer sits on a Robux price. There are no active codes as of October 2026, so farming beats waiting on a promo paste.
This guide covers the real Gem sources players use—Badge quests, biome crates, and run payouts—plus a sane spend order. Cross-check prices on All Classes and value on the class tier list. For the empty codes list, see the Codes Hub.
Source 1 — Badge quests
Badge-style quests reward Gems when you complete listed challenges. Treat them as a checklist, not background noise:
- Open the quest/badge UI in lobby or run flow and read what still pays
- Prioritize quests that overlap with normal survival (days reached, crafts, clears) so you are not doing busywork
- Finish easy badges early on Explorer while you learn void camera control
- Do not ignore a nearly complete badge because you are hyperfocused on one legendary chunk
Badge Gems are steady. Players who “never have currency” often never opened the quest panel.
Source 2 — Biome crates
Biome crates tied to the chunks you craft and clear are another Gem path. More deliberate expansion—done with walls and food—means more crate opportunities over a session.
Crate habits:
- Sweep every new chunk the day you place it (Chunk Types and Rarities)
- Bring inventory space so you do not leave crate rewards on the rim
- Prefer crates on walled pads; dying on an open quarry overlook with a full bag feels awful
- In co-op, call crate loots so one player does not silently vacuum the payout
Crates reward the same discipline as Bones and Artifact farming: clear what you craft.
Source 3 — Run payouts
Surviving longer and playing better runs pays Gems when the session ends or hits payout milestones. Practical implications:
- A wipe on Night 2 teaches less and pays less than a structured push toward mid-game
- Follow Survive 100 Days pacing so you stop donating runs to hunger and open seams
- Private servers help you practice without chaos; public servers are fine once walls and food are automatic
- Treat each run as Gem income and practice—tilted remakes that skip cooking earn neither
Longer clean runs compound: better payouts, more crates, more badge progress.
What Gems buy — class price sheet
Use this as the spend map (confirm in lobby if Freshly Cooked Games retunes presentation):
| Class | Cost | Role in short |
|---|---|---|
| Explorer | Free | Starter kit; learn the game |
| Chef | 75 Gems | Hunger drains 30% slower |
| Medic | 75 Gems | Healing / bandage comfort |
| Lumberjack | 150 Gems | Faster wood-fed expansion |
| Ninja | 150 Gems | Stronger night survivability |
| Vampire | 300 Gems | High spend combat identity |
| Engineer | 399 Robux | Crafting discount + extra crossbow |
As of the October 2026 community tier snapshot used on this wiki: S Ninja/Vampire, A Engineer/Lumberjack, B Chef/Medic, C Explorer. Tiers describe power—not a mandate to skip learning on Explorer. Details: tier list.
Recommended spend order
- Play Explorer until you stop falling into the void and can close Night 1–3 walls (Getting Started).
- First 75 Gems — Chef if hunger keeps ending runs; Medic if fights shred you first. Food discipline guide: Food and Hunger.
- Next goal at 150 — Lumberjack if expansion/crafts feel stuck; Ninja if nights are the wall.
- 300 Vampire only after you already understand kite paths, cooking, and seam walls—raw damage does not fix an open rim.
- Engineer if you are willing to spend Robux for crafting speed into walls, tools, and chunk recipes (Crafting and Buildings).
Do not dump every Gem into Vampire on day one of owning the game. Soft upgrades that keep runs alive earn more Gems tomorrow.
What not to wait for
No active codes in October 2026. Check Codes Hub when you hear rumors, but plan your class budget around badges, crates, and payouts. Codes—if they return later—are bonuses, not a farm strategy. This wiki will not invent working strings.
Also do not confuse Gems with Bones or Artifacts. Those are run mats for boss chunks and later gates—How to Get Bones, How to Get Artifact.
Session loop that prints Gems
- Lobby — claim ready badge progress; equip the class you actually need tonight
- Early run — cook, wall, clear starter nodes
- Mid run — craft purposeful chunks; open biome crates; bank Bones
- Push toward a payout-worthy day count without greed wipes
- End run — note Gem total; decide the next class unlock; remake with a plan
Optional: after your first comfortable boss and totem discipline (Day Multipliers and Totems), longer runs become much better printers.
Common Gem mistakes
- Ignoring badge quests entirely
- Buying Vampire before learning void edges
- AFKing on the starter pad hoping crates spawn around you
- Quitting every Night 1 wipe instead of treating early days as paid practice
- Refreshing code lists for hours instead of playing (Codes Hub is empty for a reason right now)
Related pages
Clear badges, sweep crates, finish cleaner runs, and spend Gems on the class that fixes your real failure mode. That is the whole Gem economy.
Frequently Asked Questions
Quick answers to the most common questions.
How do you get Gems in 100 Days on Chunk?
Complete Badge quests, loot biome crates while expanding, and earn run payouts from longer clean survivals. There are no active codes as of October 2026.
Are there any working codes for Gems?
No active codes as of October 2026. Recheck the Codes Hub later, but farm badges, crates, and payouts now.
What should I buy first with Gems?
After learning on Explorer, spend 75 Gems on Chef or Medic. Then consider Lumberjack or Ninja at 150—see the class tier list.
Is Vampire worth 300 Gems immediately?
Only after you can wall, cook, and kite. Power classes do not fix open seams or empty food chests—Getting Started.